Bubble Wrap Painting
Bubble wrap painting is a fun and creative way to paint. It’s an ideal sensory activity for a rainy day as your little one will love the feel of the different textures and it also a useful activity to develop colour recognition skills too. What’s best is that it can be easily adapted to suit different ages, including young babies.
Are you raring to give it a try with your child? Follow our easy step-by step guide below to help your little one make a cool and abstract piece of art.
What you will need:
*Paint
*Paint brushes/rollers
*Bubble wrap
*Paper
*Scissors
*Newspapers or mat to protect surfaces
Instructions
- Cut your bubbles wrap into pieces about the same size as the pieces of paper that you are using.
- Prepare your paint in pots or pallets and place your bubble wrap down with the bubbles facing up.
- Paint thickly onto your paper using hands, paintbrushes or rollers to create different patterns and shapes. You can also squirt the paint directly onto the paper.
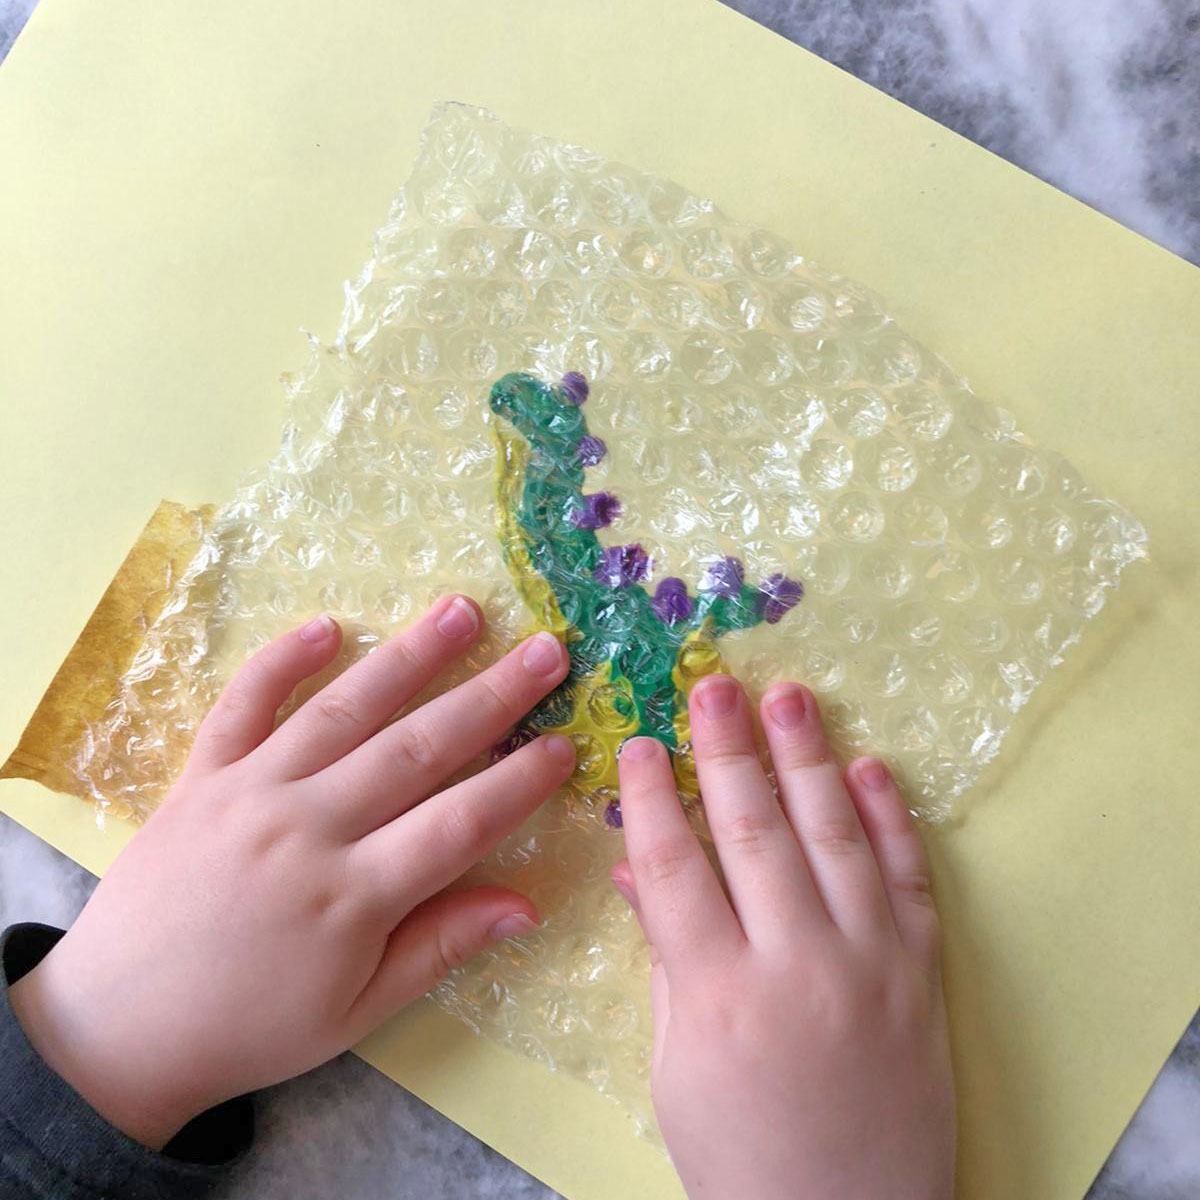
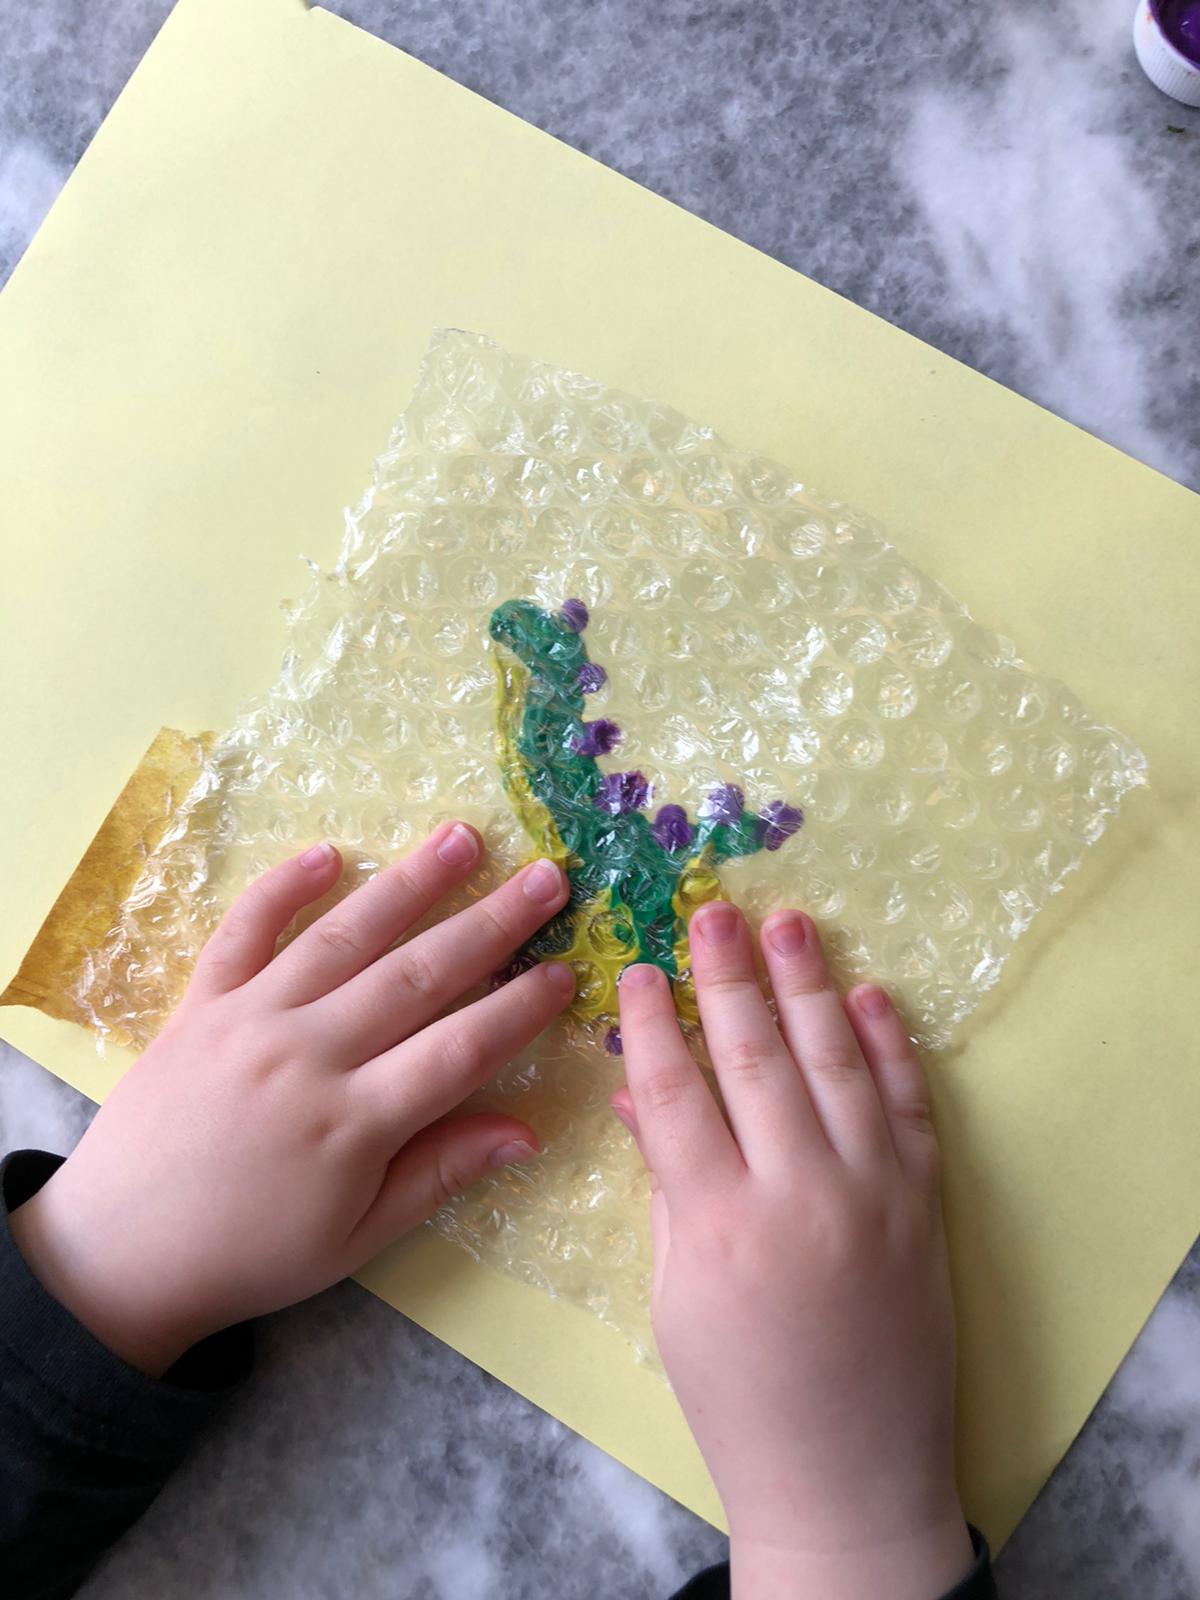
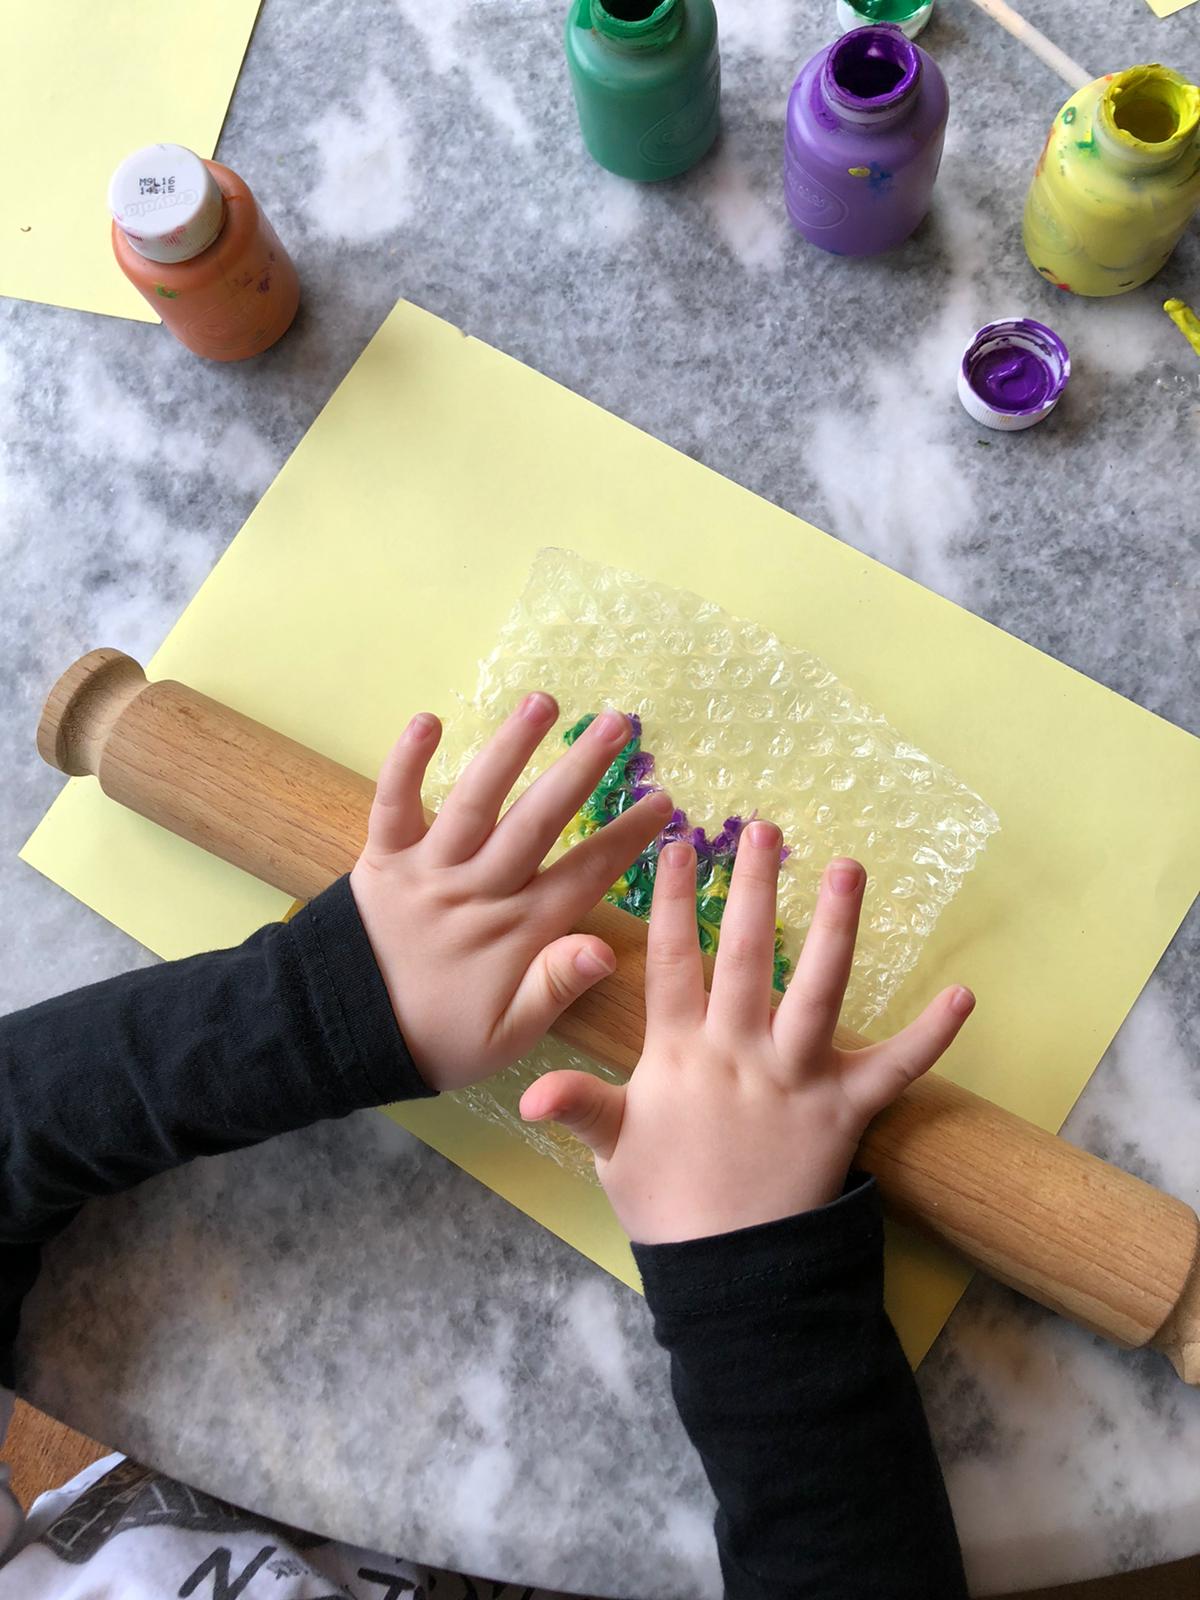
- After you have finished painting, and before the paint has had a chance to dry, gently place your bubble wrap over your art, bubble side down.
- Firmly press down onto the top of the bubble wrap, or use a rolling pin, to help the bubbles do their work.
- Carefully lift the bubble wrap off and leave your paper to dry.
Alternative learning opportunities with
bubble wrap painting:
- Wrap and sellotape some bubble wrap around a rolling pin (the small play dough ones will work). Squirt different coloured paint on to some paper. Roll along the paper to make your own unique wrapping paper.
- Cover a table with bubble wrap and use masking tape to hold securely in place. Add paint and voila! You can use pieces of paper on top to make prints too.
- Cut different shapes out of the bubble wrap. Place the shapes in paint tray with the bubbles facing down (have different coloured paint in each tray) and press down to cover in paint. Place the shapes onto the paper and press down with fingers. Gently lift to reveal the shapes.
- Squirt some paint onto a large piece of card (we opened up an old cardboard box and covered it with bubble wrap). Fix it in place using tape. Let your child/ren walk, stomp and jump on the bubble wrap!
- For older children, experiment with squirting the paint directly onto the bubble wrap and then pressing the paper on top. This way round can be a little messier!
Top tips – keep at wet cloth to hand for messy fingers and don’t forget to let them pop the bubbles too!
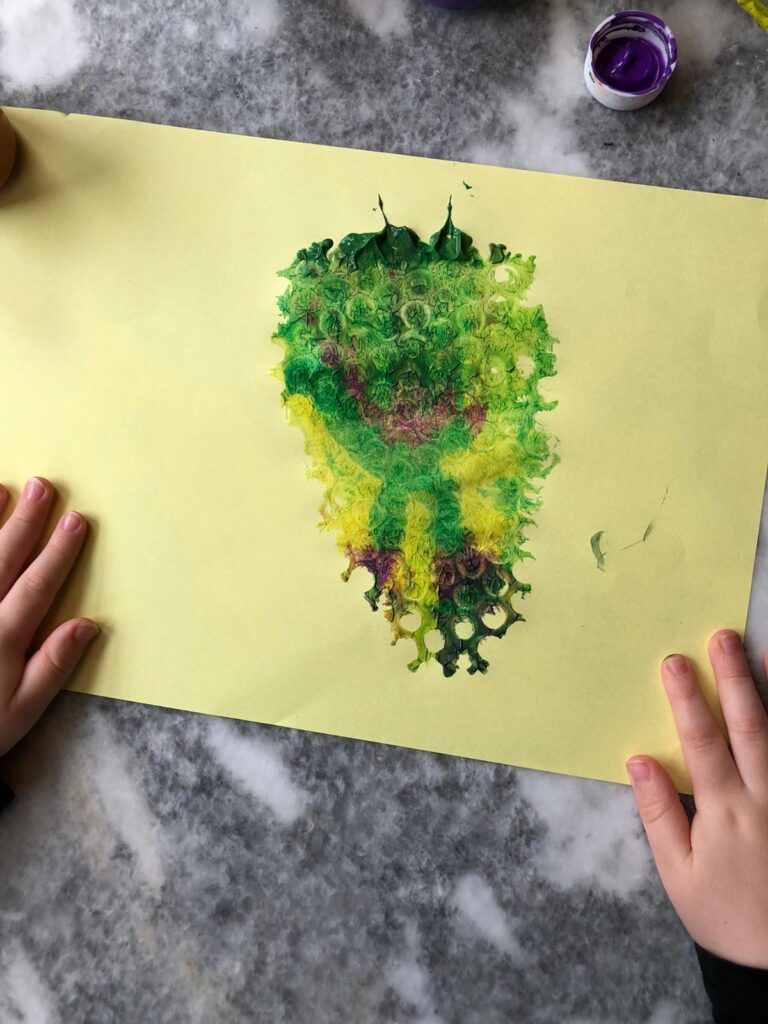
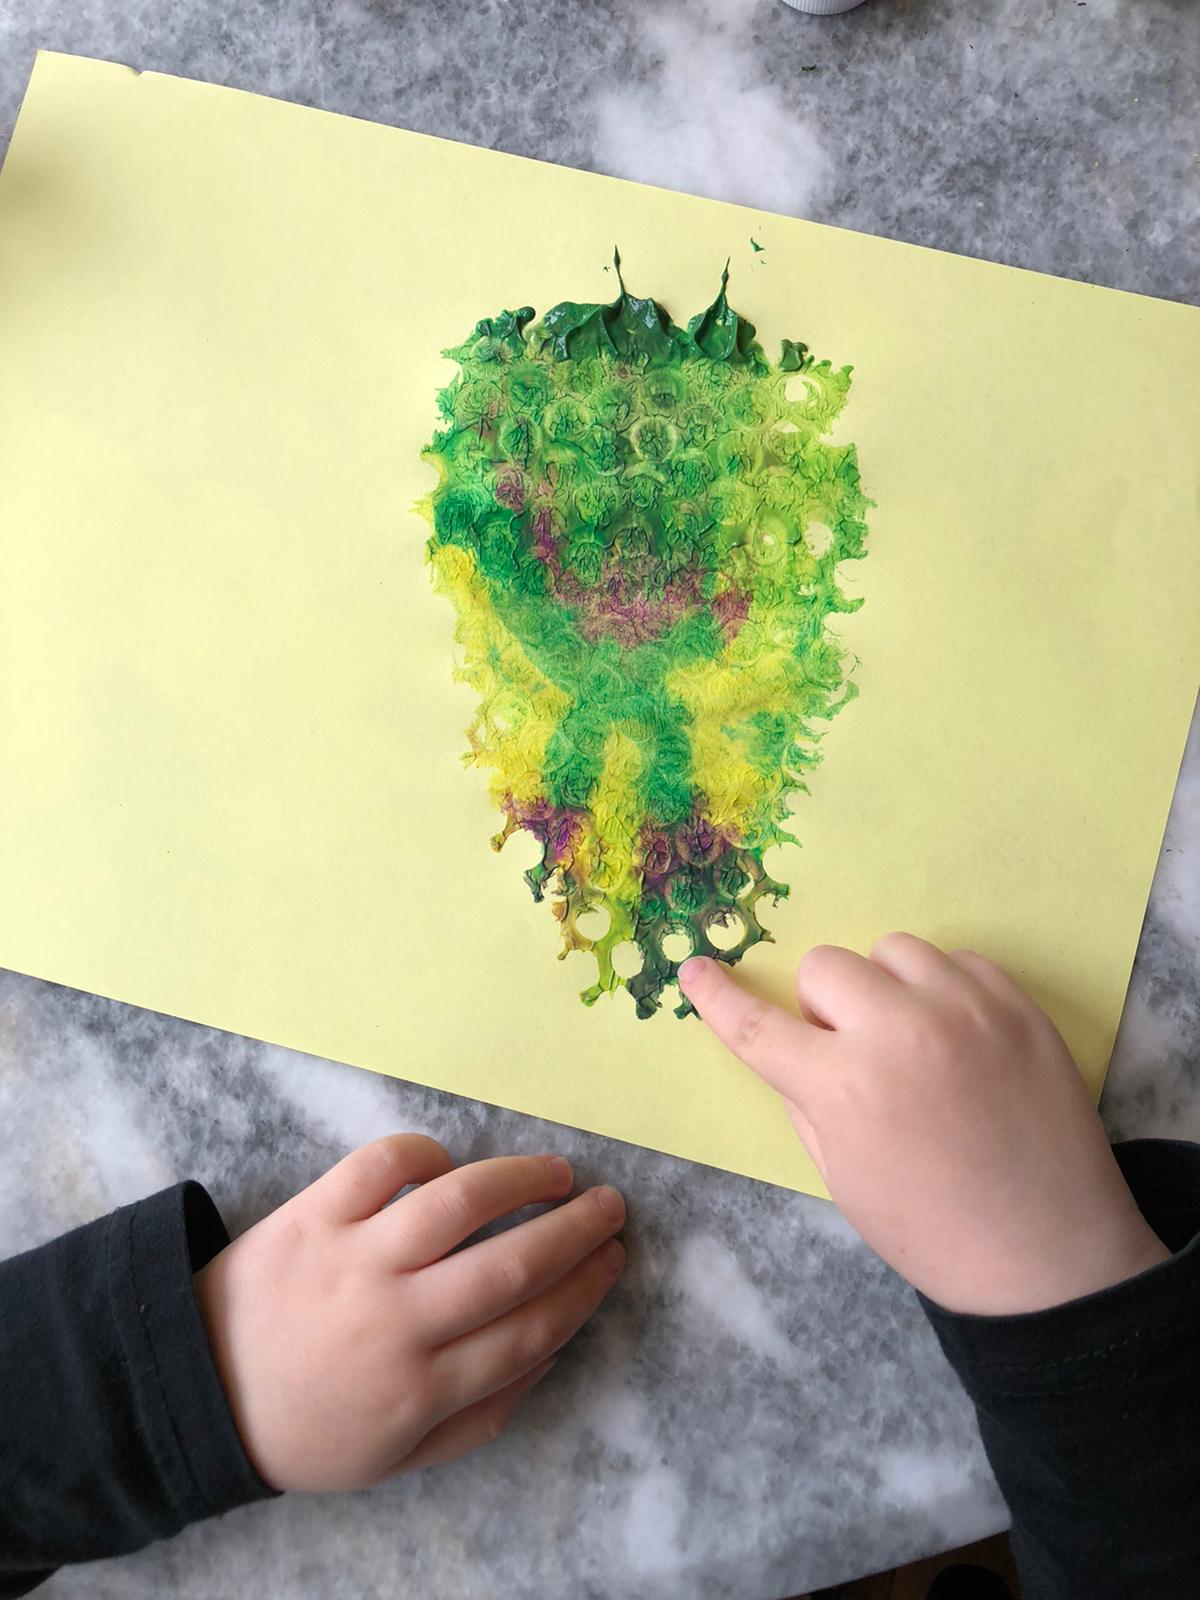
Our finished bubble wrap painting!
More creative ideas:
There are so many ways to use bubble wrap in your child’s artistic creations! For starters, who doesn’t love to pop all the bubbles. This multi-sensory activity is great for us adults too, creating a calming effect, much like a stress ball. Why not create your own bubble wrap beat, popping bubbles to a rhythm and making up a rhyme to go with it too!
For art at home, you can use bubble wrap to make stamps and rollers, or cut it into any shape you wish. Plus, not all bubble wrap is equal! Have you ever come across the really big stuff?
It’s always worth saving bubble wrap and other types of packaging for your art projects. Not only will you be building up a fantastic set of art supplies, but by recycling these types of packaging, you’re putting them to a good second or third use.
We’ve put together a few ideas over on our Pinterest board for you. Click here to be inspired.